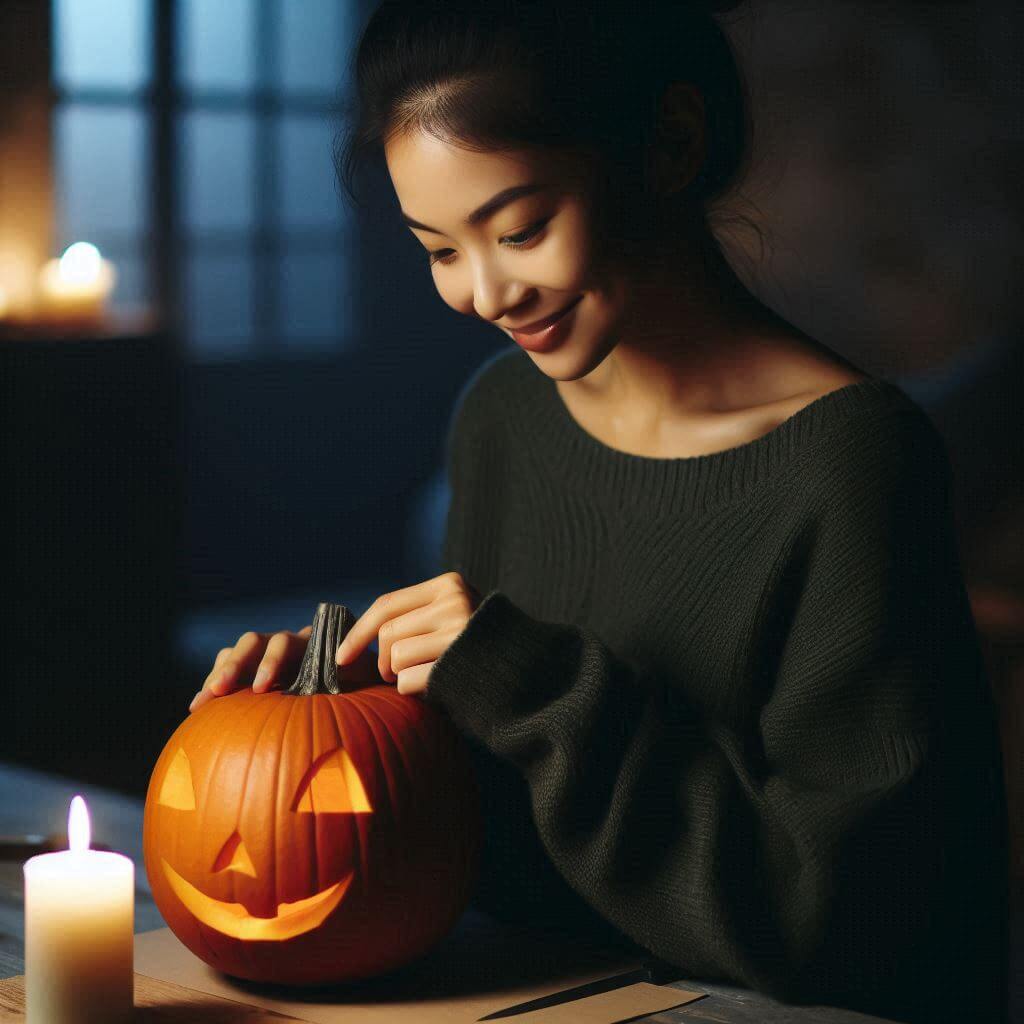
So, you’ve got your pumpkin, a set of tools, and an eager spirit to get carving, but then you realize… where do you even start? Before you resign yourself to the typical triangle eyes and a crooked smile, take a deep breath. We’ve got some pumpkin carving ideas for beginners that look way more impressive than you’d expect—and best of all, they’re totally achievable!

Let’s explore some easy pumpkin carving designs that’ll have your neighbors thinking you secretly moonlight as a professional pumpkin carver.
1. The Classic Grinning Jack-O’-Lantern (With a Twist)
Alright, no shame in starting with a classic! But if you want to make your jack-o’-lantern stand out from the rest of the smiley pumpkins on the block, add a little flair:
- Wavy Mouth: Instead of a straight smile, make the mouth wavy or add a few extra teeth.
- Eyebrows for Attitude: Don’t underestimate the power of a good eyebrow! Just two small cuts above the eyes can transform your pumpkin from “Happy Halloween!” to “I know what you did last summer.”
- Nose Details: Switch up the traditional triangle nose for a small heart or star.
By making these small changes, you’re still working with a beginner-level design, but you’ll have something that looks a little more professional (without the stress).
2. Polka-Dot Pumpkin: No Art Degree Required
If you’re not quite ready to tackle faces yet, try a polka-dot pumpkin! It’s a simple design that looks impressive once it’s lit up. Here’s how you can do it:
- Grab an apple corer (yes, you read that right) or a melon baller.
- Start “carving” out circles in different areas around your pumpkin. Keep the size of your circles consistent, or mix it up with some smaller and larger ones.
- Once you’ve got your holes, place a candle or small LED light inside.
The glow through the polka dots looks gorgeous and way more professional than it actually is. Plus, there’s minimal chance of messing up a perfect circle!
3. The Ombre Glow Pumpkin: Fancy Yet Foolproof
This design sounds complex, but trust me, it’s more about patience than skill. The key here is to create layers of pumpkin skin thickness to achieve a gradient effect:
- Draw a design (like a star, leaf, or bat) and carve along the lines, but don’t go all the way through—just remove the top layer of skin.
- Carve deeper into some areas, leaving others more shallow to create a multi-layered look.
This technique lets more or less light shine through in different places, creating a gorgeous glowing ombre effect once the pumpkin is lit from within. It’s low-risk and high reward because you can always carve deeper if needed.
4. Spiderweb Pumpkin: Less Scary, More Snazzy
Think you can’t draw a spiderweb? Think again! This design is surprisingly forgiving because spiderwebs are naturally irregular. Start by:
- Drawing an “X” shape on your pumpkin.
- Add two more intersecting lines to create a star-like shape.
- Then, connect these lines with curved lines to form the web.
Even if your lines aren’t perfect, the end result will still look like a spiderweb. The best part? This is a very low-maintenance design that looks much harder to create than it actually is.
5. Cookie Cutter Pumpkin: Carving’s Best-Kept Secret
You know those cookie cutters you pull out once a year for holiday baking? They can be your best friend for pumpkin carving! Here’s how:
- Choose a sturdy metal cookie cutter in a shape you like—think stars, leaves, or even cats.
- Position the cutter on your pumpkin and use a rubber mallet (or your own brute strength) to tap it into the pumpkin.
Voila! Perfectly cut shapes with minimal effort. You can do several around the pumpkin to create a fun pattern that looks professional but requires almost zero artistic talent.
6. The Illuminated Silhouette Pumpkin
If you want to get a little fancier but keep it beginner-friendly, try an illuminated silhouette pumpkin:
- Draw a simple shape like a witch’s hat, a black cat, or a crescent moon on your pumpkin.
- Carefully carve around the outside of the shape, removing the skin but leaving the inside intact.
- Use a peeler or carving tool to scrape away some of the flesh inside the outline, but don’t go all the way through.
This will allow light to shine through the thin areas of the pumpkin, creating a soft glow that outlines your shape. It’s sophisticated but not too complicated to pull off.
Related Story: 10 Easy Pumpkin Carving Ideas for Beginners
Final Tips for First-Time Pumpkin Carvers
- Choose the Right Pumpkin: Go for one that’s firm, has a flat base, and isn’t overly ripe.
- Start Small: Don’t dive into elaborate designs. Start with something simple and build your confidence.
- Keep It Sharp: Use proper carving tools rather than kitchen knives. It’s safer and gives you better precision.
- Have Fun: Don’t stress about perfection! The beauty of pumpkin carving is that it’s a little messy and unique.
Ready to impress everyone this Halloween? Try one of these pumpkin carving ideas for beginners and light up your porch like a pro (minus the carving mishaps). Happy carving!
📌 Pin to Save 📌

Follow me on:


Love the cookie cutter idea!